A business phone number is how your customers reach your team. You buy numbers in ToCaller in two short steps, and pay for them from your workspace balance.
Before you start
- Your role: buying numbers is for the workspace Owner and Admins. See User roles and permissions.
- Your balance: numbers are paid from your workspace balance, not from your plan. You need enough on the balance to cover the first month of the number. The balance is the green amount at the top of the screen. To top it up, see Add funds to your balance.
- Identity check: before you can add funds, the Owner completes a one-time identity check. See Verify your identity.
Step 1: choose the location and type
- In the sidebar, click Phone Numbers, then click Buy a number.
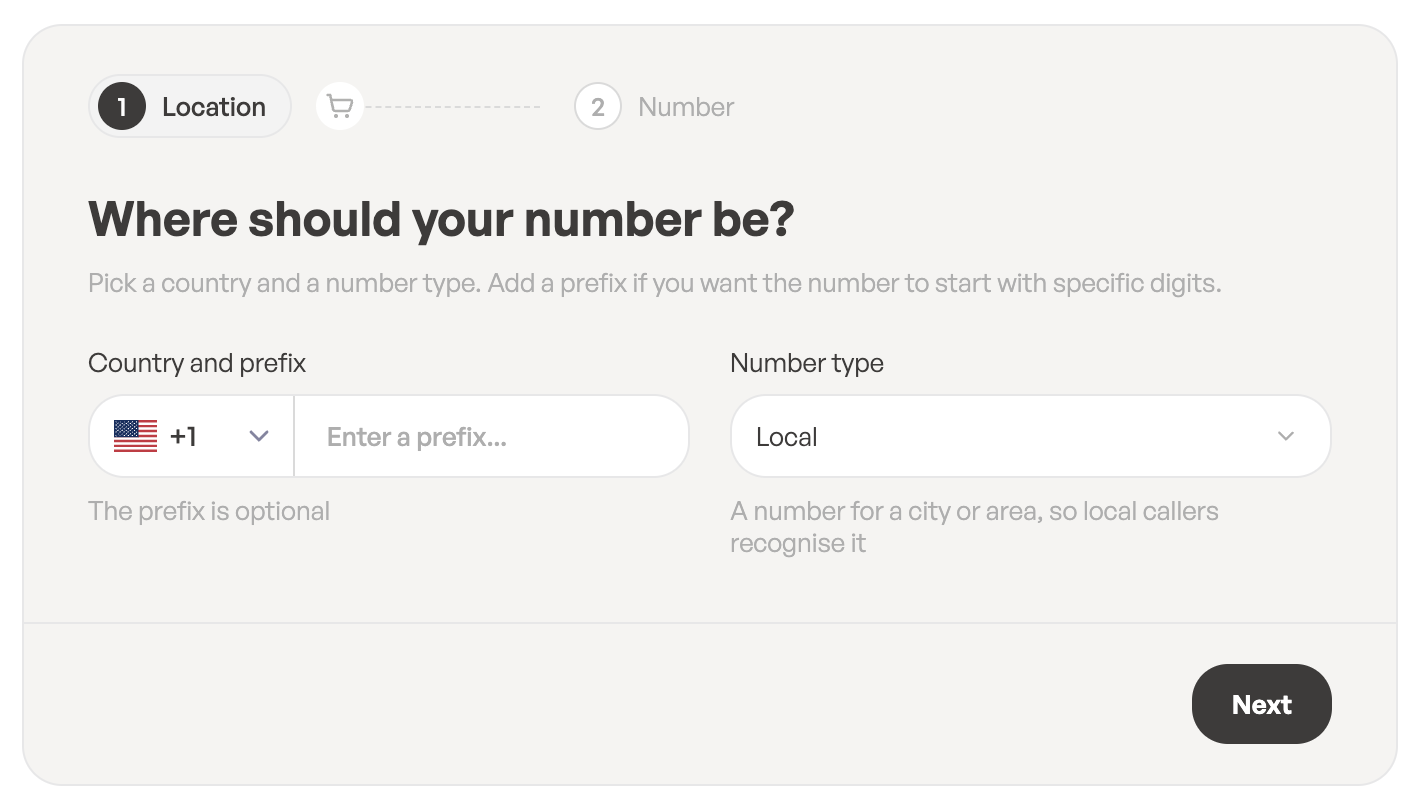
- Under Where should your number be?, open Country and prefix and choose a country.
- Optional: type a prefix if you want the number to start with specific digits, for example an area code. The prefix is optional.
- Under Number type, choose:
- Local: a number for a city or area, so local callers recognise it.
- Toll-free: free to call from anywhere in the country.
- Click Next.
Step 2: pick your number
- Under Available numbers, browse the list. Each row shows the number, its region and its monthly price. Use the page arrows to see more numbers.
- Click the number you want.
- In Number name, give it a name your team will recognise, for example Sales line or Front desk.
- Check the Summary: location, number, Monthly price and Your balance.
- Click Buy number.
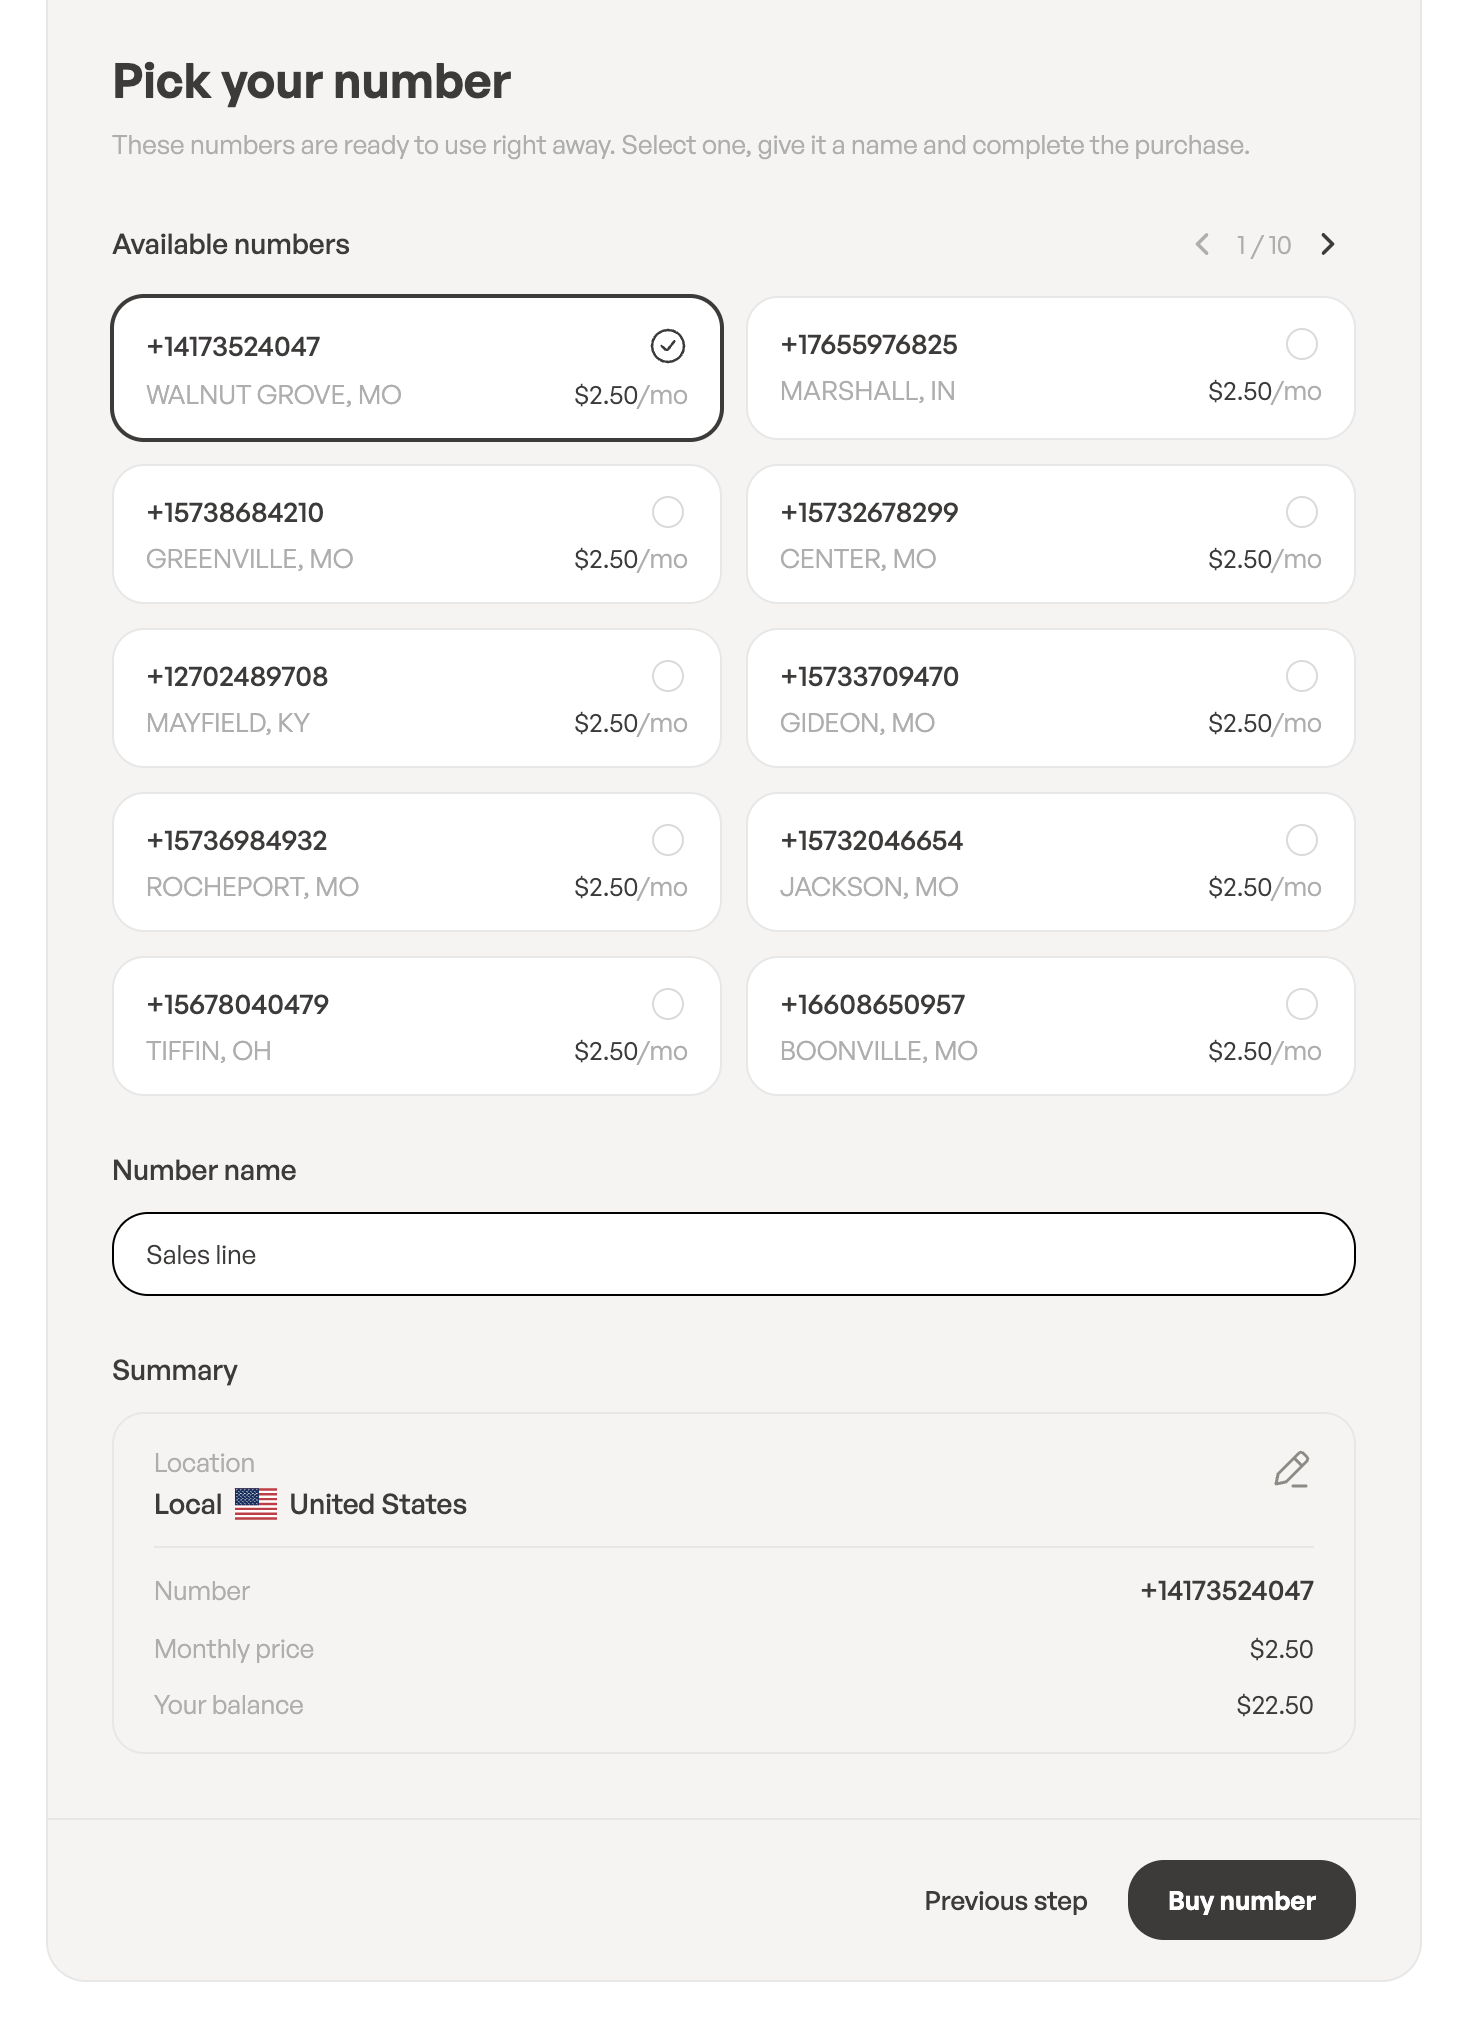
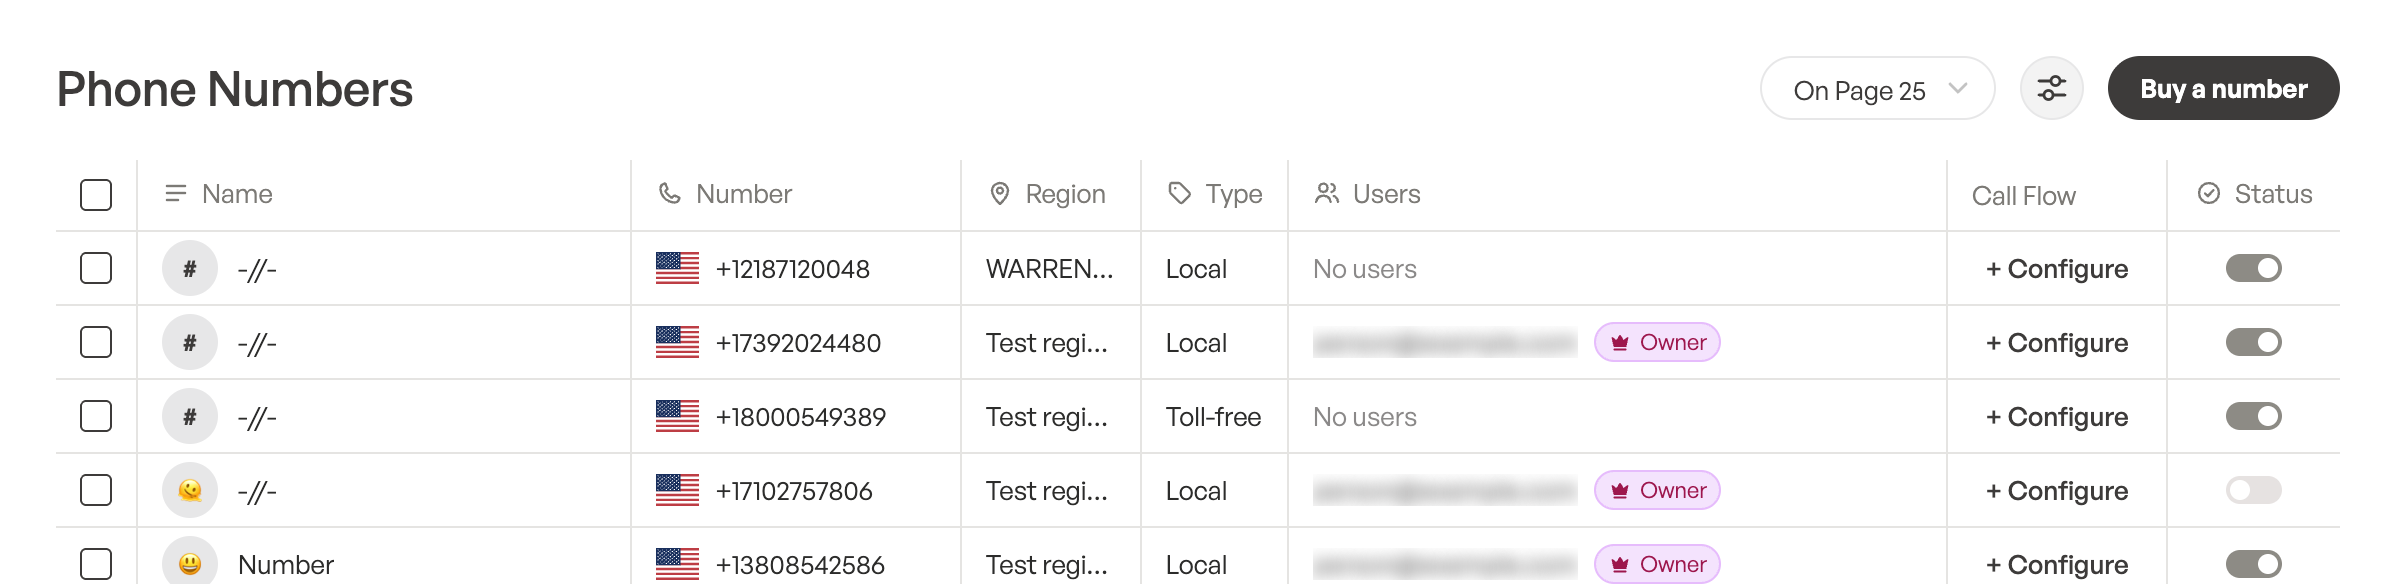
There is no extra confirmation step: clicking Buy number buys the number. The first month is charged to your balance right away, and you return to the Phone Numbers list, where the new number appears.
If none of the numbers suit you, or you see No numbers available, click Previous step and try another country, prefix or number type.
When your balance is too low
If your balance doesn’t cover the first month, it’s shown in red with the message Numbers are paid from your balance. Add at least … to buy this number. The Buy number button is replaced by Add funds, which takes you to the top-up page (or to the identity check first, if you haven’t completed it yet).
After the purchase
- Most numbers are ready straight away: you’ll see Number … purchased. and a Number purchased notification in the bell menu.
- Some numbers take a few minutes to set up. You’ll see Number … ordered. and then a Number is ready notification.
- If the carrier can’t provide the number, you get a Number order failed notification and the amount is returned to your balance.
- The other Admins in your workspace get a New number purchased notification.
Next steps
Decide who will make and receive calls on the new number: see Assign phone numbers to users.
Leave a Reply